What to have ready before you measure
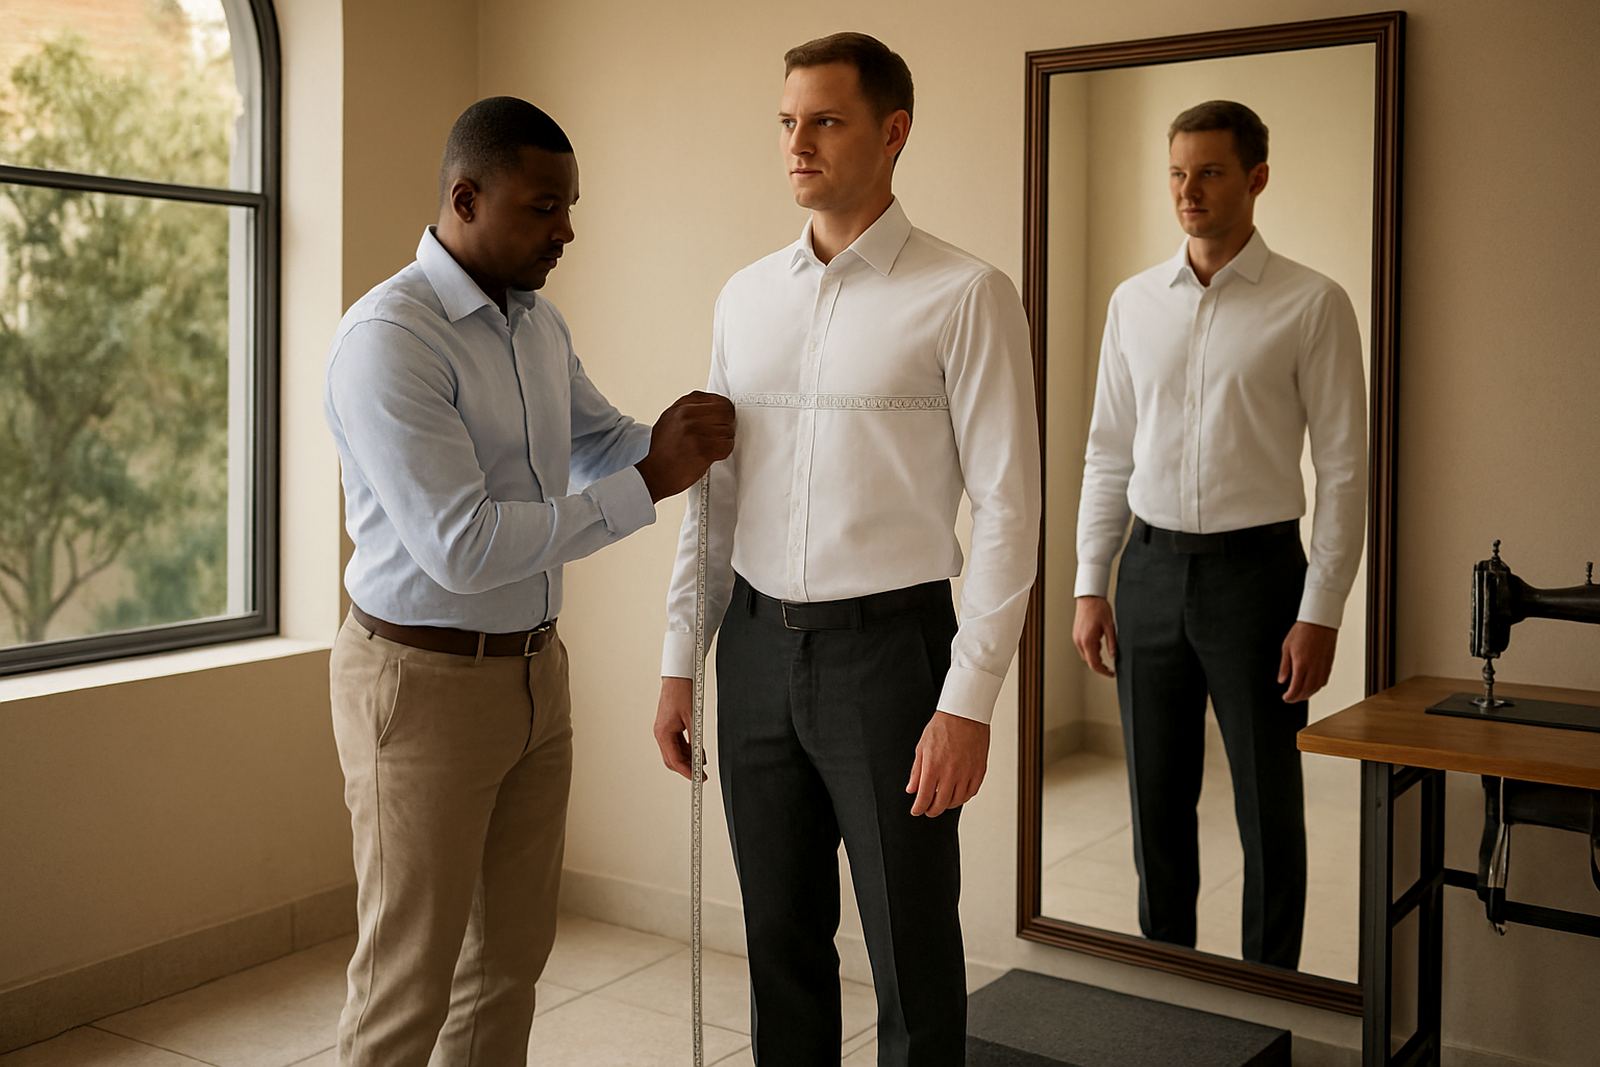
Use a soft measuring tape, a full length mirror, and if possible a second person to help. Wear a fitted shirt and slim trousers, not thick knitwear or lounge clothes, because bulky fabric changes the numbers. Stand naturally with your feet about hip width apart and keep your shoulders relaxed. Measure in centimetres, and write each number down as you go so nothing gets mixed up.
For remote orders, accuracy matters even more because the suit is being made from your numbers. If you are measuring in Johannesburg, Sandton, Pretoria, Durban, Cape Town or anywhere else in South Africa, take the measurements in a warm room and at the end of the day if possible, since the body can sit slightly differently after a long day at work. Keep the tape snug but never tight. It should touch the body without digging in.
- Soft tape measure
- Pen and paper or notes on your phone
- Fitted shirt and slim trousers
- Mirror and a helper if available
How to measure your chest, shoulders and jacket length
Start with the chest. Wrap the tape around the fullest part of the chest, under the arms and across the shoulder blades. Keep it level all the way round and breathe normally, do not puff out your chest. Record the number where the tape meets, then repeat once more to make sure it is the same.
For shoulders, measure from the edge of one shoulder bone to the edge of the other across the back. This is one of the most important suit measurements because it affects how the jacket sits. If you have a helper, ask them to find the shoulder points where the arm meets the top of the shoulder, not too far down the arm. For jacket length, measure from the base of the neck at the centre back down to the point where you want the jacket to finish. Most clients prefer a length that covers the seat without looking too long.
- Chest: around the fullest part, tape level
- Shoulders: bone to bone across the back
- Jacket length: base of neck to desired finish point
- Arm length: shoulder point to wrist bone
Take your arm length with the arm slightly bent, because a straight locked elbow can throw off the fit. If one arm is a little longer than the other, use the longer one and tell us about the difference, even a small one can matter.
Getting the waist, seat and trouser rise right
The trouser waist should be measured where you normally wear your trousers, not where you think they should sit. For most men this is a little above the hip bone. Wrap the tape around that point and keep one finger under the tape for comfort. If you like a higher rise, tell us, because the waist position and the rise work together.
Next measure the seat around the fullest part of the hips and buttocks. This helps us shape the trousers so they do not pull across the back when you sit. For the rise, measure from the front of the waist, through the legs and up the back to the same waist point. This is best done with help. It sounds technical but it gives us a much clearer idea of how the trousers need to balance when you sit, stand or walk between meetings and traffic in town.
- Waist: where you naturally wear your trousers
- Seat: fullest part of the hips and buttocks
- Rise: front waist, through the legs, to the back waist
- Thigh: around the upper leg, close to the crotch
For the thigh, measure around the upper leg about 2 to 3 cm below the crotch. Keep the tape even and do not pull it tight. If you have strong thighs or prefer a roomier cut, mention this at the same time as the number. That small detail helps us avoid tightness after the first wear.
Trouser length and break: choose the finish you want
Trouser length affects the look of the whole suit. A slight break gives a traditional look, while a shorter finish looks neater and shows more of the shoe. There is no single correct answer, it depends on your style, height, and the type of shoe you wear most often.
To check the inside leg, measure from the crotch seam down to the point where you want the hem. Stand straight and keep the tape flat against the leg. If you usually wear trousers with a cuff or a very clean finish, mention that too. Coastal humidity in places like Durban and Cape Town can affect the way some fabrics hang after a day, so having the right hem length from the start helps the trousers keep their shape better.
- Outer leg: waist to hem on the outside
- Inside leg: crotch to hem
- Break preference: no break, slight break or full break
- Shoe height: note the shoes you wear most often
Use your suit type and lifestyle to guide the fit
Different suit uses call for different fits. A wedding suit may need a cleaner waist and sharper shoulder line, while a work suit often needs more ease for long days, driving, and sitting in meetings. If you plan to wear the jacket over a waistcoat or a thicker shirt in winter, say so during your fitting. That way the cut can allow for the extra layers without feeling tight across the chest.
If you are ordering for corporate wear, tell us whether the suit will be used often, only for events, or for travel between offices in Sandton, Midrand, Pretoria or further afield. A suit worn weekly needs a practical balance of comfort and shape. If you are ordering from outside Johannesburg, courier delivery makes it important to be precise the first time so fewer adjustments are needed later.
- Wedding wear: sharper silhouette, more detail allowed
- Work wear: comfort for sitting, standing and travel
- Travel use: allow for movement and layering
- Event wear: note shoes, shirt and tie together
Final check list before you send your measurements
Before you submit anything, check every number twice and make sure all units are in centimetres. Write down your preferred fit too, such as slim, regular or a little roomier. Add your height, weight, and any fit notes like broad shoulders, one shoulder lower than the other, or a fuller seat. Suit Measurement Guide helps us read the numbers properly instead of treating them as plain figures on their own.
If you are unsure about a step, stop and measure again rather than guessing. A few extra minutes now can save time later and help avoid unnecessary alteration work. We often see that the best fitting suits come from clients who take a calm, careful approach and keep the notes simple and clear.
- All measurements in centimetres
- Fit preference noted
- Height and weight included
- Any body differences mentioned
- Repeat the tricky measurements once more
Once your measurements are ready, use the enquiry form on our contact page and share the details with your order request. From there, the next steps can be guided around your fitting, fabric choice and intended use.