What to have ready before you start
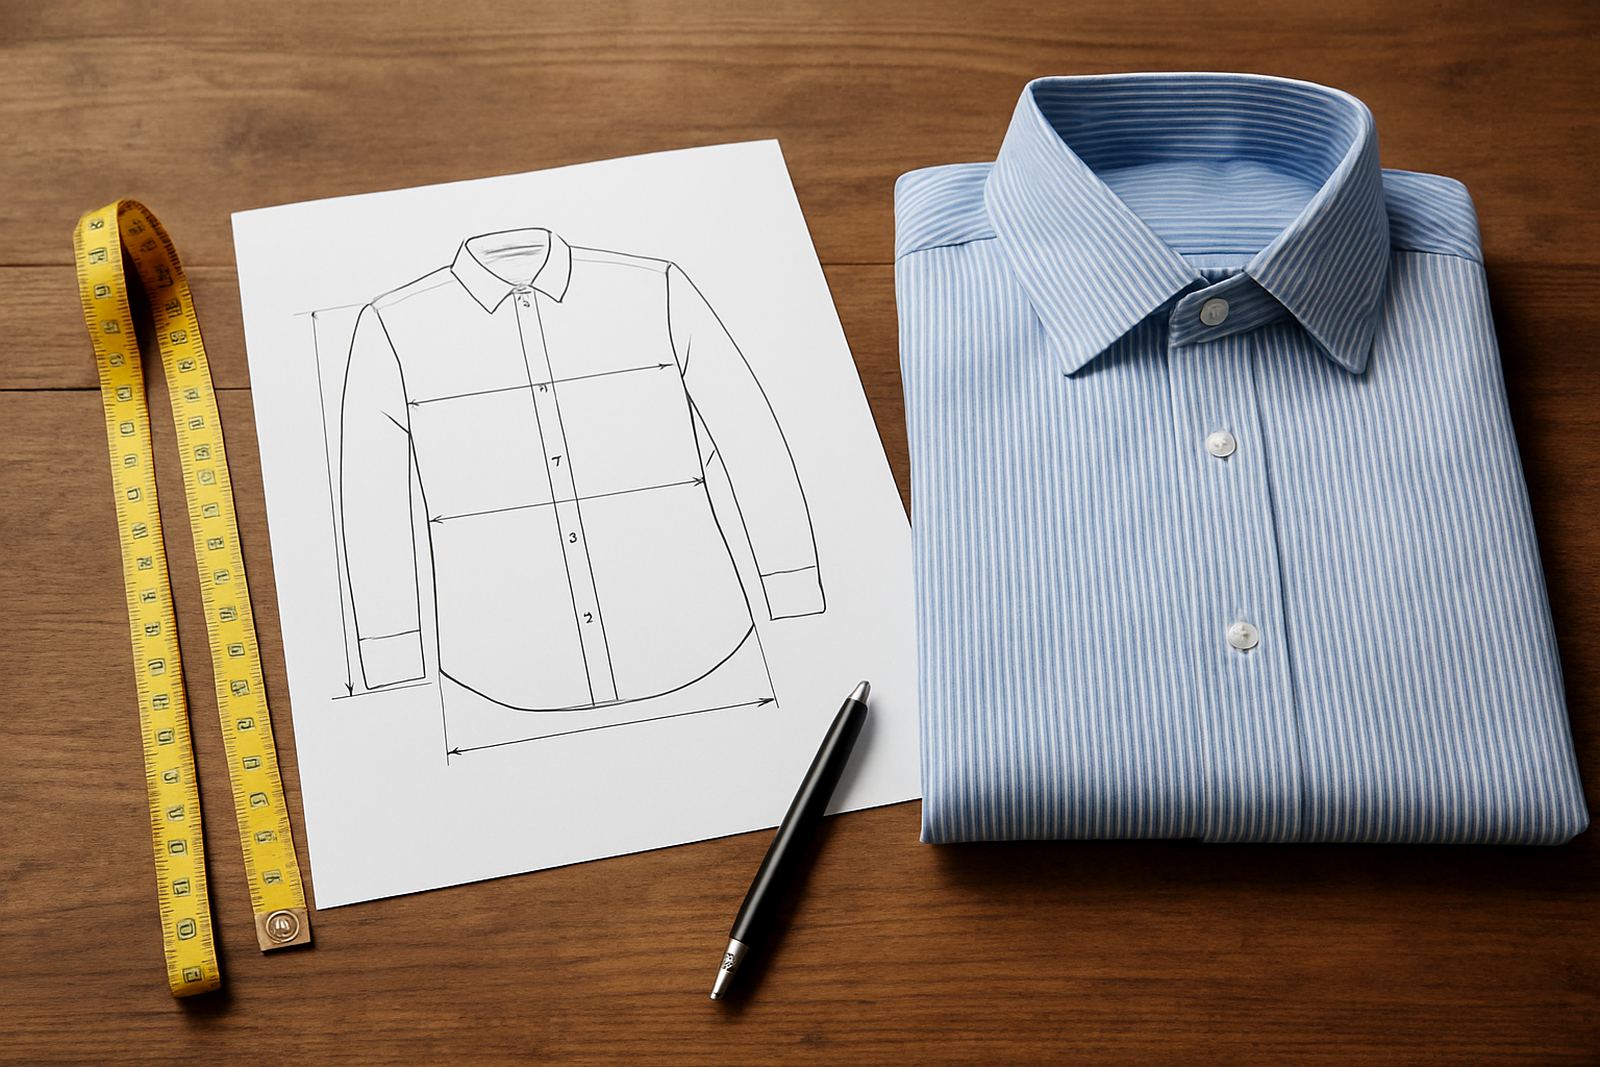
Use a soft measuring tape, a full length mirror, and help from another person if possible. A fitted T shirt or vest is best so the tape can sit flat against the body. Avoid measuring over a jacket, thick knit, or anything with bulky seams because that adds extra centimetres and can throw off the cut.
Measure in centimetres, not inches, and write everything down as you go. If you are between two measurements, note both. For most shirt orders, a small difference of 0.5 cm to 1 cm can matter at the neck and cuff, while a little more room may be needed at the chest if you prefer an easier fit for Joburg heat or long days in the office.
- Soft tape measure
- Pen and paper or notes app
- Fitted T shirt or vest
- Another person to assist where needed
- Flat shoes if you are also checking posture and shoulder slope
Measure the neck first, then the collar fit
Wrap the tape around the base of the neck where the shirt collar will sit, just above the collar bones. Keep one finger under the tape so the collar will not feel too tight. The goal is comfort with a neat finish, especially if you wear the shirt buttoned up for work or events.
If you already own a shirt that fits well at the neck, you can measure the inside collar band from button to buttonhole and use that as a guide. For a new made-to-measure shirt, it helps to add a small allowance for movement. Heat, humidity and long commutes can make a collar feel tighter through the day, so do not over-tighten the tape.
- Measure at the base of the neck
- Keep one finger under the tape
- Record the number in centimetres
- Check if you prefer a close, standard, or relaxed collar feel
Get the chest, waist, and seat right
For the chest, measure around the fullest part while standing relaxed with your arms at your sides. Keep the tape level all the way around and do not puff out your chest. This is one of the main measurements that affects how the shirt sits over the torso and how it feels when you sit, reach, or drive.
Next, measure the waist at the narrowest part of your torso, usually around the belly button area or slightly above it. If you carry weight around the middle or want a cleaner shape for a tucked shirt, note that clearly. The seat is measured around the fullest part of the hips and bottom, which helps with longer shirttails and overall balance.
- Chest at the fullest part
- Waist at the narrowest point
- Seat around the fullest part of the hips
- Keep the tape level and snug, not tight
Shoulders, sleeves, and arm movement
Shoulder width is measured from the edge of one shoulder bone to the edge of the other. This affects how the yoke and sleeve head are shaped, and it has a big impact on comfort. If shoulders are cut too wide, the shirt can look sloppy. If too narrow, it can pull across the back.
For sleeve length, bend the elbow slightly and measure from the shoulder point down to the wrist bone, passing over the outside of the arm. This gives a more practical length for normal movement. If you wear cuffs with a jacket, or prefer a shirt that sits a little longer for business wear in Sandton or Pretoria, mention that when submitting your details.
- Measure from shoulder point to shoulder point
- Keep the arm slightly bent for sleeve length
- Measure to the wrist bone or where you want the cuff to finish
- Note any one-sided shoulder drop or posture differences
How to check shirt length and cuff preference
Shirt length starts at the highest point of the shoulder near the neck and runs down to the place where you want the shirt to finish. For a tucked-in shirt, the length should be enough to stay in place during the day. For a more casual untucked look, the hem can be shorter, but it still needs enough coverage so it does not ride up at the back.
Cuff preference matters too. Some clients like a slightly snug cuff that sits neatly under a jacket, while others need more room for a watch. Measure around the wrist where the cuff closes and tell us if you want standard room or extra ease. Small details like this make a proper difference on repeat orders, and save time later.
- Measure shirt length from shoulder to hem
- Decide if the shirt will be tucked or untucked
- Measure wrist circumference for cuff comfort
- Note if you wear a watch on the left or right wrist
Final checks before you submit your measurements
Once every measurement is recorded, stand naturally and check that the numbers make sense together. A very large chest with a very small waist may need shaping. Long arms with narrow shoulders may need a different sleeve balance. If anything feels uncertain, repeat the measurement once more. A second check is usually enough to catch a tape that slipped or a number that was written down wrong.
When you send your measurements through the enquiry form, include your usual shirt size, how you like to wear the shirt, and whether you want a close, regular, or easy fit. Mention any past issues such as tight collars, sleeves that ride up, or extra fabric at the back. The more practical detail you give, the easier it is to cut accurately for your body and your daily routine.
- Recheck all numbers before sending
- Note your fit preference clearly
- Include any problem areas from previous shirts
- Tell us if the shirt is for work, weddings, or everyday wear